
Drilling Through Stone: How to Safely Hang Mirrors on Marble and Tile Walls
Most tiles are designed and manufactured to be durable, even in wet and harsh environments. Many have a glazed finish that makes them waterproof but also slippery, so they can be difficult to drill.
Porcelain tiles are particularly dense, while marble is softer and easier to drill. Many types are fired at very high temperatures to give them strength through hardness and density, and their thermal sensitivity means that heat builds up easily.
It is important to understand the type of tile you have before you start to drill. An incorrect choice of tools or a faulty technique can cause the tiles to crack or holes to be incorrectly positioned.
The Specialist Tools Required for Drilling Porcelain and Ceramic
The hardness and density of tiles mean that specialist tools are necessary. Standard wood or stone bits will not do the job, but careful selection of the correct bits will ensure clean and accurate holes.
To avoid cracking the tile, you need to use a variable-speed drill, so you start slowly and then increase the speed once you are through the surface layer. A corded drill will normally deliver power more consistently, but a cordless version with torque control should do the job.
Using the correct drill bit is crucial, and this depends on the type of tile you are drilling:
- Diamond-tipped drill bits are generally best for really dense and hard surfaces such as granite, stone, marble and porcelain tiles. They are embedded with industrial diamond particles that grind through the surface and generate less friction and heat.
- Carbide-tipped drill bits are ideal for softer materials such as ceramic and glazed tiles. They are cheaper to buy and retain sharpness with proper use.
- Spear point drill bits are good for glass and glazed tiles, giving minimal stress and reduced cracking due to gradual pressure distribution.
- Diamond hole saw drill bits are used to create larger holes in tiles, typically for pipes and fittings.
You will also need other equipment:
- Masking tape that you apply over the drilling area to prevent skidding and ensure accuracy.
- A drill guide that maintains a fixed angle for accuracy and uniform depth.
- A water spray bottle or sponge to keep the drilling area cool and prevent surface fractures caused by overheating.
- A wall scanner to detect hidden water pipes or electrical cables, so you don’t drill through them.
- Safety gear such as a dust mask, safety goggles and gloves.
Step-by-Step Process for Drilling Marble Without Cracking It
Drilling through stone and tiles is a process that requires patience and precision. Failing to follow the correct procedure can result in inaccurate holes, cracked tiles and a poor outcome. So it is vital you follow the recommended method.
- Ensure the tile is firmly fixed and stable; otherwise, it may move and cause inaccurate drilling. For new tiles, only drill when 24-48 hours have elapsed after fixing.
- Surface preparation is crucial, so you must first clean the tile surface to remove dirt and grease that can cause slippage of the drill bit. Use mild detergent or isopropyl alcohol and dry with a lint-free cloth.
- Use a wall scanner to ensure there are no hidden pipes or cables you may drill into.
- Stick masking tape over the drilling point on the tile. This prevents the drill bit from slipping and reduces minor vibrations that can cause chipping of the tile.
- Mark the required drilling point precisely, avoiding tile edges and grout lines where the tile is weaker and likely to crack. If drilling several holes, use a tape measure and spirit level for precise spacing and alignment.
- Select the correct drill bit for the size of hole and the type of material you are drilling.
- Disable hammer mode on your drill, if available, since this will cause cracking. Position the drill at ninety degrees to the tile (using a drill guide will ensure the correct angle) and start to drill at a low speed (300-500 RPM) and with light and consistent pressure.
- Prevent overheating that can cause cracks by keeping the tile area cool. Spray water or use a wet sponge frequently throughout the process; this will also extend the life of the drill bit.
- Once you have drilled through the surface layer, continue to maintain low speed and pressure until you have drilled through the tile. You can then switch to a standard masonry bit, increase the drilling speed and use hammer mode to drill through brick.
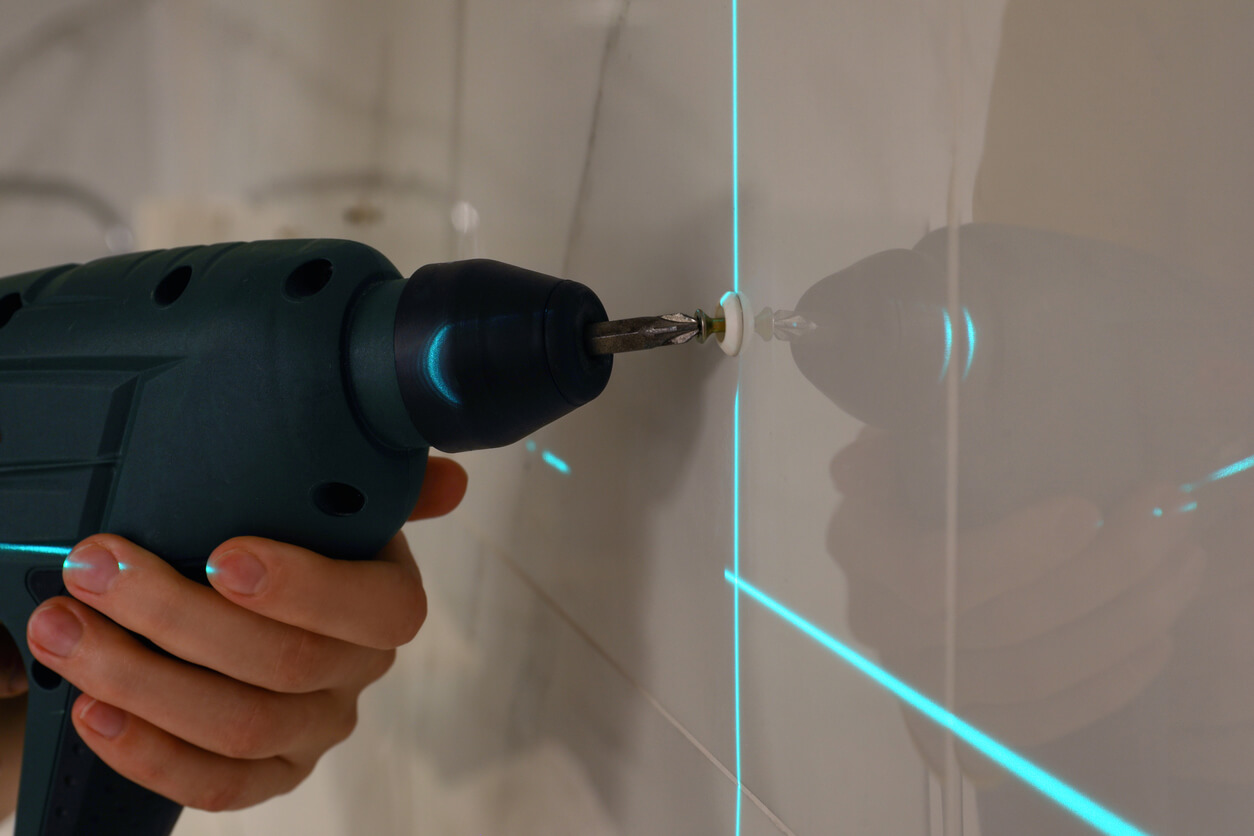
- Once you’ve drilled to the required depth, clean the hole and tile surface, then insert a wall plug and use a screw to complete the installation.
Avoiding Utility Lines Behind Bathroom and Kitchen Walls (Safety First)
One of the big problems of drilling into walls is that you don’t know what’s under the surface. Pipes and cables are supposed to go into prescribed zones, but that’s not always the case. So, there is always a possibility you will drill through a cable or pipe and cause problems.
Before drilling, use a wall scanner to check for the presence of cables, pipes and metal supports. A digital scanner will detect both metal and non-metal objects, so it will allow you to drill with confidence that there are no obstructions.
Common DIY Errors When Attempting Stone/Tile Drilling
Any problems that occur when drilling through stone and tiles are often caused by rushing the job, not preparing properly, and trying to finish quickly. Common errors include:
- Not checking for the presence of pipes and cables.
- Failing to check that the tile is stable.
- Not cleaning the surface or applying masking tape so that the drill bit slips.
- Drilling near a tile edge where cracking is more likely.
- Selecting the wrong drill bit for the type of tile.
- Drilling at too high a speed, applying too much pressure and having hammer mode set on; these will all cause tiles to crack, so patience is essential.
- not keeping the drill bit and tile cool, which results in excess heat that wears the drill bit and cracks the tile
- Not cleaning the drilled area before inserting plugs and screws can lead to incorrect mounting.
To avoid problems, seek professional help. Contact us to ensure there is no damage to your tiles and that everything is fitted properly. For expert tile drilling services that protect your valuable marble and porcelain surfaces, All About Hanging has the specialised equipment and experience to safely drill through stone and tile without cracking, ensuring your mirrors are securely and beautifully mounted.